
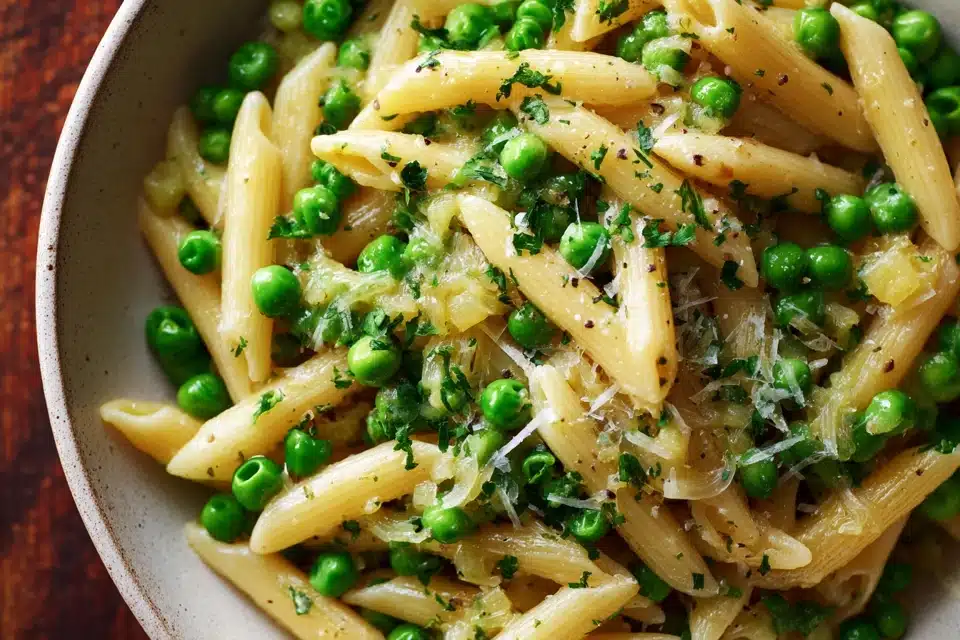
Pasta e Piselli (Pasta and Peas) – 5 Classic Ways to Enjoy a Light Italian Comfort Dish
Pasta e Piselli, or Pasta and Peas, is a classic Italian dish that combines tender pasta with sweet green peas in a lightly flavored sauce. This recipe is quick to prepare, comforting, and perfect for a light lunch, weeknight dinner, or as a side dish. Its simplicity, combined with the sweetness of peas and the depth of aromatic seasonings, makes it a staple in Italian home cooking.
Ingredients Overview
The foundation of this dish is pasta and peas. Short pasta shapes such as ditalini, elbow macaroni, or small shells are ideal, as they mix evenly with the peas and sauce. Fresh or frozen peas provide natural sweetness, color, and tender-crisp texture.
Aromatic ingredients like onions and garlic form the flavor base, sautéed in olive oil to release their fragrance. Broth (vegetable or chicken) creates a light, flavorful coating for the pasta and peas. Fresh herbs such as parsley or basil add brightness, while a finishing touch of Parmesan cheese introduces savory depth. Optional lemon zest or juice can add a refreshing twist.
Substitutions are flexible. You can use different short pasta shapes or gluten-free pasta, and canned or pre-cooked peas if fresh aren’t available. Together, these ingredients result in a light, balanced, and flavorful dish.
Ingredients
12 ounces short pasta (ditalini, elbow macaroni, or small shells)
1 tablespoon olive oil
1 small onion, finely chopped
2 cloves garlic, minced
2 cups peas (fresh or frozen)
2 1/2 cups vegetable or chicken broth
Salt and black pepper, to taste
1/4 cup grated Parmesan cheese
2 tablespoons fresh parsley, chopped
Optional: 2 tablespoons lemon juice or zest
Optional: 2 ounces pancetta or bacon, diced
Step-by-Step Instructions
- Bring a large pot of salted water to a boil and cook pasta according to package directions until al dente. Drain and set aside, reserving 1/2 cup of pasta water.
- In a large skillet, heat olive oil over medium heat. If using pancetta or bacon, cook until crispy. Add onion and garlic and sauté until translucent and fragrant.
- Add peas and broth to the skillet. Simmer for 5 minutes to allow flavors to meld.
- Add the cooked pasta to the skillet and toss gently, adding reserved pasta water as needed to coat the pasta.
- Stir in Parmesan cheese and fresh parsley. Season with salt, black pepper, and optional lemon juice or zest to taste.
- Serve immediately while warm, garnished with additional Parmesan if desired.
Common mistakes include overcooking the pasta, which makes it mushy, and adding peas too early, which can dull their color and texture. Cooking pasta separately and adding it at the end ensures proper texture.
Tips, Variations & Substitutions
- Add extra vegetables like carrots or zucchini for added color and nutrition.
- Use gluten-free pasta for dietary preferences.
- For richer flavor, include a splash of cream or butter at the end.
- Add fresh herbs such as chives or thyme to vary flavor.
- Serve with a drizzle of high-quality olive oil for extra richness.
Serving Ideas & Occasions
Pasta e Piselli is perfect for a quick lunch, light dinner, or a comforting side dish. Pair with roasted vegetables, grilled chicken, or a simple green salad. Its fresh, bright flavors make it ideal for spring or summer meals, casual family dinners, or Italian-themed gatherings.
Nutritional & Health Notes
This dish provides a balance of carbohydrates, protein (from Parmesan), and fiber (from peas). Peas contribute vitamins A, C, K, and folate, while olive oil supplies healthy fats. Optional pancetta adds protein and flavor, though it increases sodium and fat. Overall, Pasta e Piselli is a light, nutritious, and satisfying dish.
FAQs
Can I use frozen peas?
Yes, frozen peas work well. Add them to the skillet and cook just until warmed through to preserve color and texture.
Can I make this ahead of time?
You can prep the pasta and sautéed vegetables ahead of time, but combine and season just before serving to maintain freshness.
Can I make it vegetarian?
Yes, omit pancetta or bacon and use vegetable broth. The dish remains flavorful and satisfying.
What pasta shapes work best?
Short pasta shapes like ditalini, elbow macaroni, or small shells are ideal for even mixing with peas and sauce.
Can I add other vegetables?
Yes, carrots, zucchini, or asparagus work well. Add tender vegetables later in cooking to avoid overcooking.
Can I freeze this pasta?
It’s not recommended to freeze as peas and pasta can become mushy. Enjoy fresh for best texture.
How can I enhance the flavor?
Fresh herbs, lemon juice, and high-quality Parmesan elevate the flavor. A drizzle of olive oil or a sprinkle of red pepper flakes adds extra depth.
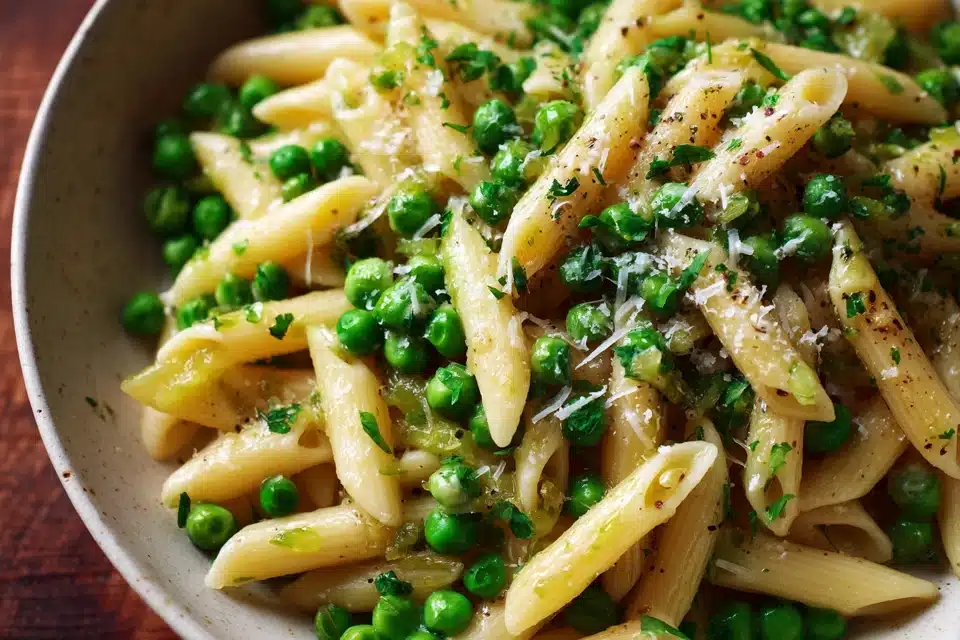
Pasta e Piselli – Classic Italian Pasta with Peas
A classic Italian pasta dish featuring tender pasta and sweet peas in a light, flavorful broth with aromatic herbs and Parmesan cheese.
- Prep Time: 10 minutes
- Cook Time: 15 minutes
- Total Time: 25 minutes
- Yield: 4 servings 1x
Ingredients
12 ounces short pasta (ditalini, elbow macaroni, or small shells)
1 tablespoon olive oil
1 small onion, finely chopped
2 cloves garlic, minced
2 cups peas (fresh or frozen)
2 1/2 cups vegetable or chicken broth
Salt and black pepper, to taste
1/4 cup grated Parmesan cheese
2 tablespoons fresh parsley, chopped
Optional: 2 tablespoons lemon juice or zest
Optional: 2 ounces pancetta or bacon, diced
Instructions
- Cook pasta until al dente; reserve 1/2 cup pasta water and drain.
- Sauté onion and garlic (and pancetta/bacon if using) in olive oil until fragrant.
- Add peas and broth; simmer 5 minutes.
- Toss pasta with peas and broth; add reserved pasta water as needed.
- Stir in Parmesan, parsley, and optional lemon; serve warm.
Notes
Avoid overcooking pasta and peas; toss gently to combine.