
Easy Grilled Cheese Roll Ups Recipe – 5 Quick Layers of Flavor
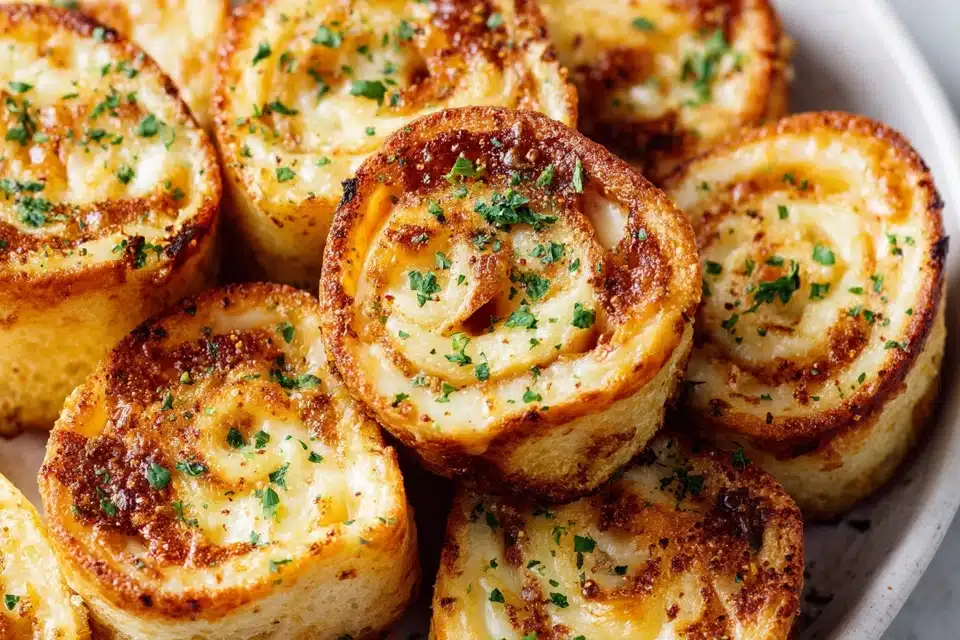
Easy Grilled Cheese Roll Ups are a fun and simple twist on the classic grilled cheese sandwich. Perfect for a quick snack or lunch, these roll-ups are crispy on the outside, gooey and cheesy on the inside, and customizable with your favorite fillings. They’re ideal for busy days, kid-friendly meals, or anytime you want a comforting bite without the fuss of traditional sandwiches.
Ingredients Overview
The base of this recipe is soft sandwich bread, which can be flattened with a rolling pin to make rolling easy and even. Cheese is the heart of the roll-ups—cheddar, mozzarella, or any meltable cheese will work. Optional fillings like ham, turkey, or even cooked vegetables can be added for extra flavor.
Butter or a light olive oil coating ensures golden, crisp edges during cooking. Seasonings like garlic powder, paprika, or dried herbs can elevate the flavor and make the roll-ups more savory. The combination of crisp exterior and melty interior creates a satisfying contrast, while the versatility allows for creative twists that suit any palate.
For variations, experiment with different breads, cheeses, or spreads like mustard, pesto, or tomato sauce. The key is balancing meltiness and flavor without making the roll-ups soggy.
Ingredients
6 slices sandwich bread
4 ounces cheddar or mozzarella cheese, sliced or shredded
2 tablespoons butter, softened
Optional fillings: deli ham, turkey, cooked spinach, or roasted peppers
1/4 teaspoon garlic powder (optional)
1/4 teaspoon paprika (optional)
Step-by-Step Instructions
Begin by preparing the bread. Trim the crusts if desired and flatten each slice with a rolling pin. Flattened bread rolls more easily and ensures an even layer of cheese and fillings.
Place slices of cheese evenly on each flattened bread slice. Add optional fillings such as ham, turkey, or vegetables. Be careful not to overfill, as this may make rolling difficult.
Roll each slice tightly, tucking in the sides as you go to prevent fillings from spilling out. Secure the ends with a toothpick if needed.
Heat a skillet over medium heat. Spread a thin layer of butter on the outside of each roll-up. Place the roll-ups seam-side down in the skillet and cook for 2–3 minutes on each side, turning gently, until the bread is golden brown and the cheese is melted. Adjust the heat to avoid burning.
Remove the roll-ups from the skillet and let them cool for 1–2 minutes. Slice into bite-sized pieces if desired and serve warm. The result is a perfectly crispy, gooey, and flavorful snack that’s ready in minutes.
Common mistakes include overfilling the roll-ups or cooking over too high heat, which can burn the bread before the cheese melts. Rolling gently and cooking evenly ensures a crisp exterior and melty interior.

Tips, Variations & Substitutions
Use your favorite bread—white, whole wheat, or sourdough all work well. For added flavor, brush the bread with garlic butter or sprinkle with dried herbs before cooking.
Try different cheese combinations like mozzarella and cheddar, or add a thin layer of cream cheese for extra creaminess. For a fun twist, include spreads like pesto, tomato sauce, or even a bit of honey for a sweet-savory option.
These roll-ups can also be baked in the oven at 375°F for 10–12 minutes instead of skillet cooking, which is great for making larger batches at once. Gluten-free bread or dairy-free cheese can be used to accommodate dietary preferences.
Serving Ideas & Occasions
Easy Grilled Cheese Roll Ups are perfect for school lunches, quick weeknight dinners, or party appetizers. Serve with ketchup, ranch, or marinara dipping sauce for extra flavor.
They’re also great alongside fresh vegetables or a simple salad to make a more complete meal. Their bite-sized nature makes them kid-friendly, portable, and perfect for snacking anytime.
Nutritional & Health Notes
Bread provides carbohydrates for energy, while cheese contributes protein and calcium. Using moderate butter adds flavor without excessive fat. Optional fillings like lean deli meats or vegetables increase protein and micronutrient content, while keeping the snack balanced.
Adjusting portion size and fillings allows these roll-ups to fit into a variety of meal plans, providing comfort and satisfaction in a compact, convenient form.
FAQs
Can I make these ahead of time?
Yes, you can prepare the roll-ups and store them in the refrigerator for a few hours. Cook them just before serving for the best crispiness.
Can I use any type of cheese?
Yes, use any meltable cheese such as cheddar, mozzarella, or Swiss. Mixing cheeses can add extra flavor.
Can I add meats or vegetables?
Absolutely. Deli ham, turkey, cooked spinach, or roasted peppers work well. Avoid overly wet ingredients to prevent soggy bread.
How do I prevent the roll-ups from falling apart?
Roll tightly and tuck in the sides. Using a toothpick can help secure the ends while cooking.
Can I bake these instead of pan-frying?
Yes, bake at 375°F for 10–12 minutes until golden and cheese is melted. This is great for making larger batches.
Are these suitable for kids?
Yes, these roll-ups are kid-friendly, easy to hold, and customizable with favorite fillings.
Can I make these gluten-free or dairy-free?
Yes, use gluten-free bread and dairy-free cheese or butter alternatives to suit dietary needs.
PrintCheesy Grilled Cheese Roll Ups Perfect for Kids

Crispy, gooey grilled cheese roll-ups with optional fillings, perfect for a quick snack or easy lunch.
- Prep Time: 10 minutes
- Cook Time: 6 minutes
- Total Time: 16 minutes
- Yield: 3-4 servings 1x
Ingredients
6 slices sandwich bread
4 ounces cheddar or mozzarella cheese, sliced or shredded
2 tablespoons butter, softened
Optional fillings: deli ham, turkey, cooked spinach, or roasted peppers
1/4 teaspoon garlic powder (optional)
1/4 teaspoon paprika (optional)
Instructions
- Flatten bread slices and place cheese and optional fillings on top.
- Roll tightly, tucking sides in; secure with toothpick if needed.
- Butter outside of roll-ups.
- Cook in skillet over medium heat 2–3 minutes per side until golden and cheese melts.
- Cool 1–2 minutes, slice if desired, and serve warm.
Notes
Brush with garlic butter or sprinkle herbs for extra flavor. Bake at 375°F for 10–12 minutes as an alternative.